
In Dailybinaryhub today, we will show you how to remove the Windows Genuine Advantage Notifications that you normally see when using an unregistered copy of Windows.
The most legal and easiest way of carrying out this involves activating your Windows copy from within Settings, but you can make use of a couple of different temporary workarounds if necessary.
See the following methods below, and learn how you can remove Windows Genuine Advantage Notification, once you’ve applied the methods you can now carry on to the next level.
Method 1: How to Activate Windows
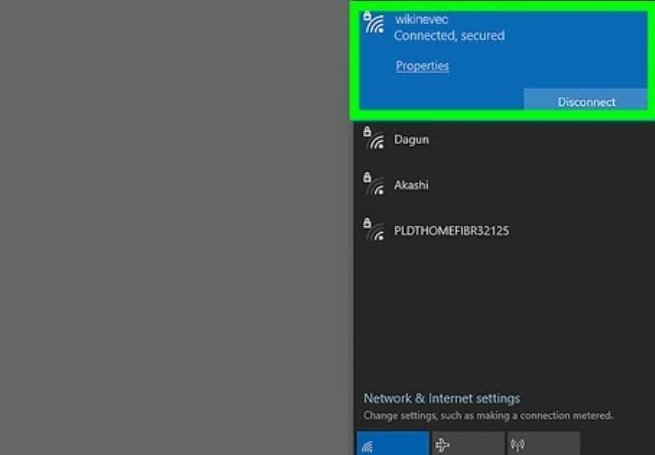
1. Ensure that you’re connected to the internet: To activate your copy of Windows, you need to be connected to the internet so that Microsoft can validate your key.
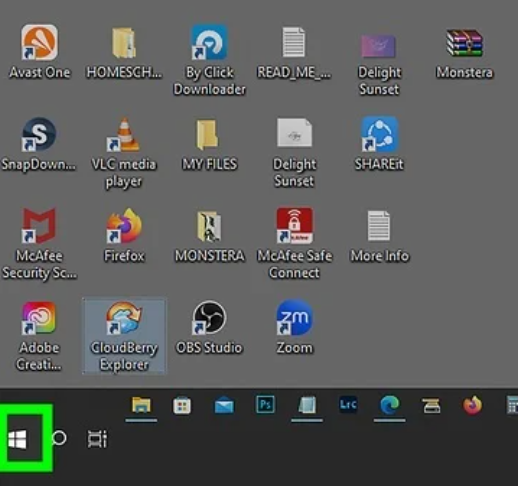
2. Open Start: To access Start, click the Windows logo in the bottom left corner of the screen The Start menu will pop up.
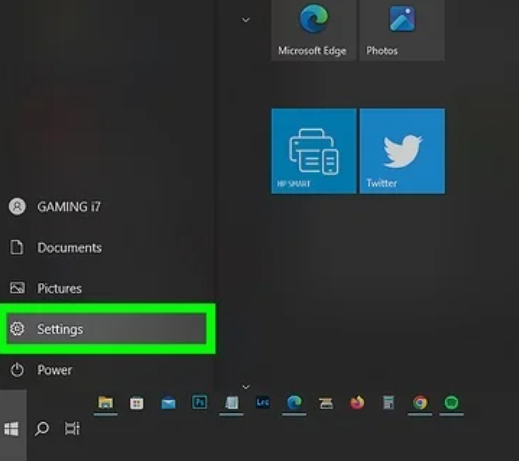
3. Open Settings: Click on the gear-shaped icon in the lower-left side of the Start menu.
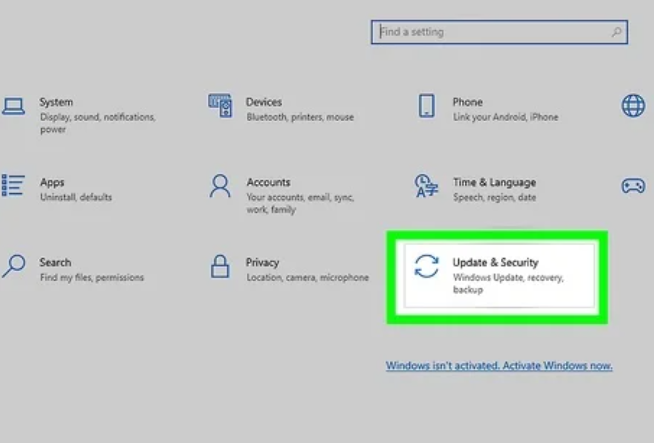
4. Click the Update & Security option: This circular arrow-shaped icon can be seen at the bottom of the Settings window.
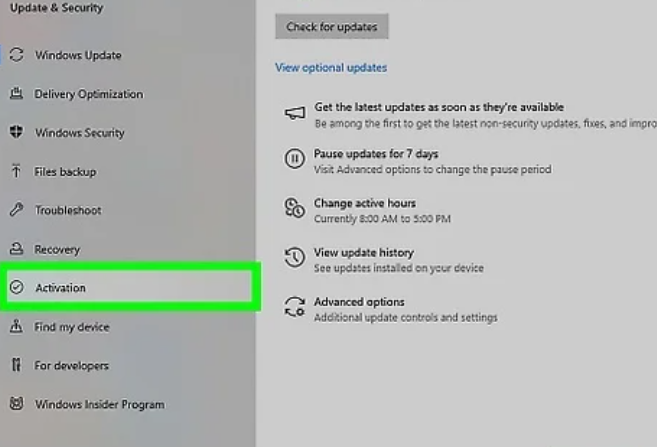
5. Click the Activation tab: You’ll find the tab on the left side of the window.
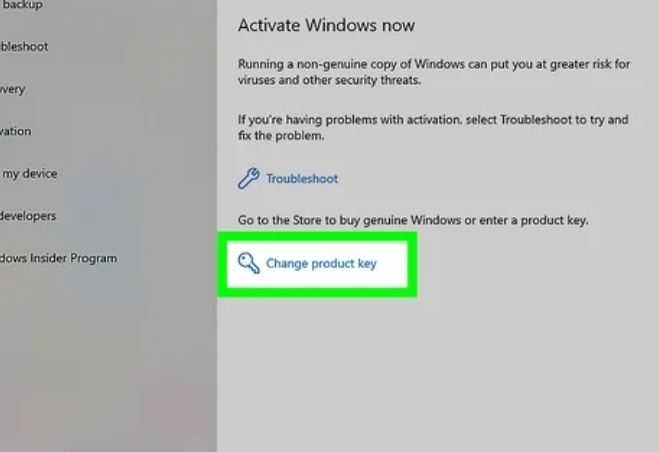
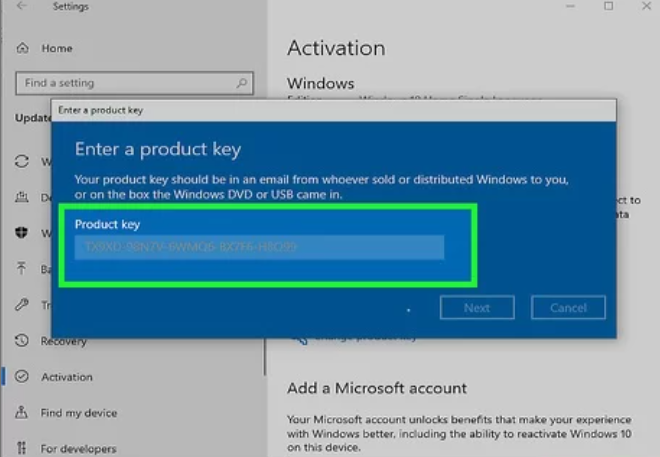
6. Click the “Change product key” option: This is a link in the middle of the Activation page. When you do this, a new window will open.
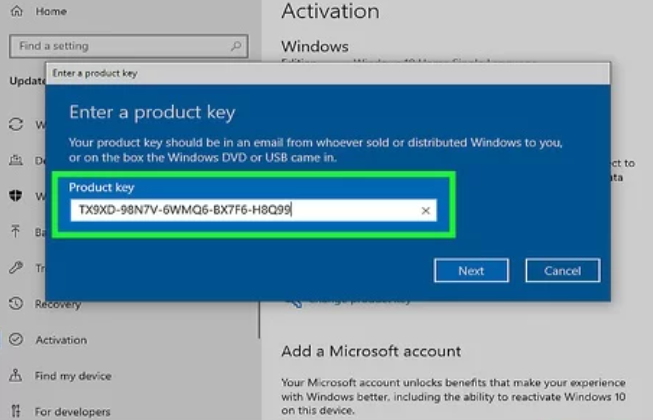
7. Enter your Windows 10 product key: Enter the activation key that came with your copy of Windows 10 into the text box.
- Normally, you can find the product key on the CD box if you bought a hard copy, or in a confirmation email from Microsoft if you bought a Windows 10 product key online.
- If you bought a Windows 7, 8, or 8.1 key, you can use that key to register for Windows 10.
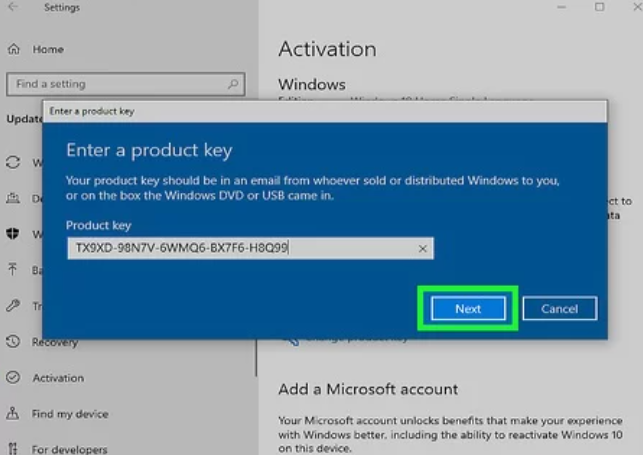
8. Click on the Next option: YOu can find the option at the lower-right corner of the window. This will prompt Microsoft to verify your copy of Windows.
9. Apply any on-screen instructions: If your copy of Windows is legit, you should get a notification that it has been accepted, then, you may need to provide more additional information if prompted.
Method 2: How to Remove the Activation Watermark from Windows 10
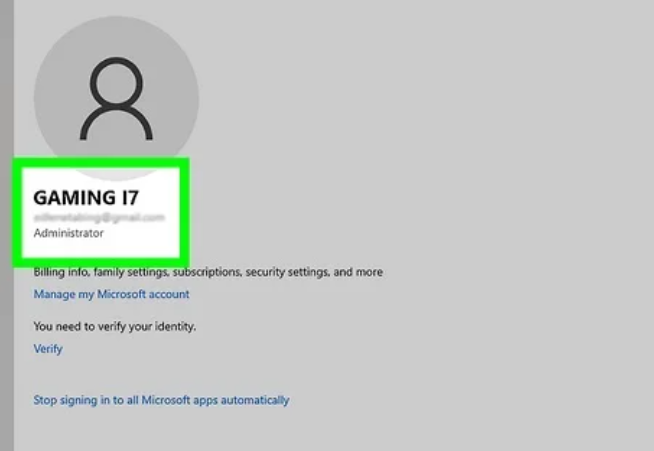
1. Ensure that you’re on an administrator account: You need to be on an administrator account to customize your PC’s registry.
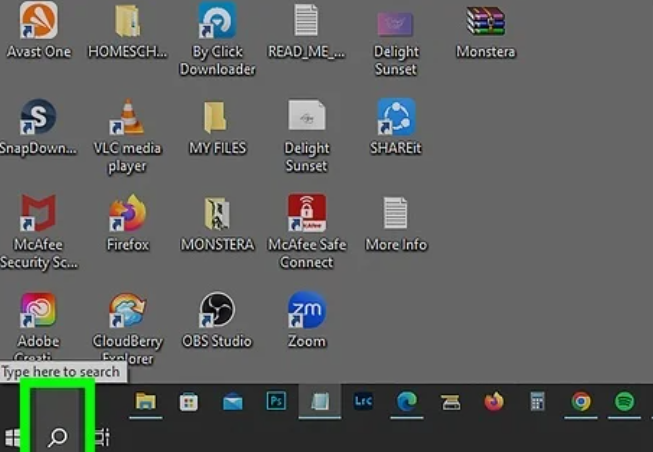
2. Open Start: Click on the Windows logo on the bottom-left side of the screen, then proceed to the next phase.
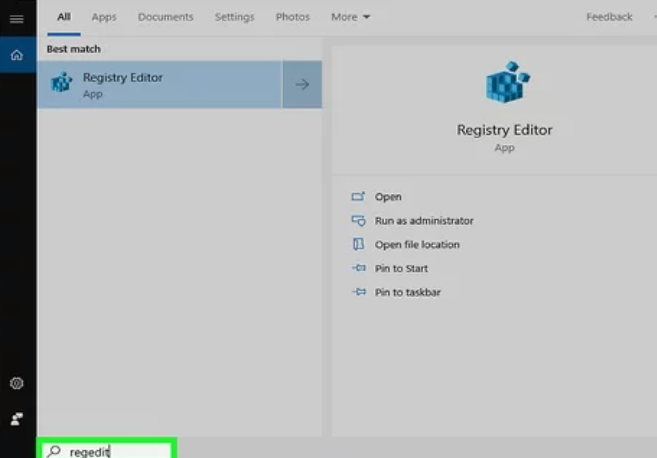
3. Type in ‘regedit‘: Once you enter regedit, it will search your PC for the Registry Editor Command.
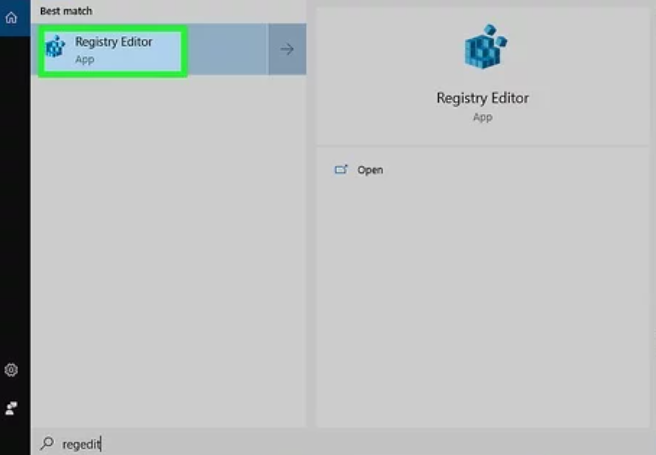
4. Click the “regedit” option: It’s like a teal collection of blocks that are found at the top of the Start window.
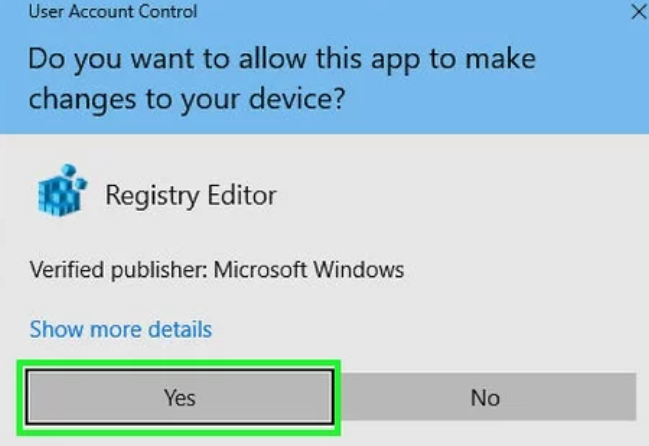
5. Click on the “Yes” button when prompted: Once you click the Yes option, it’ll open the Registry Editor window.
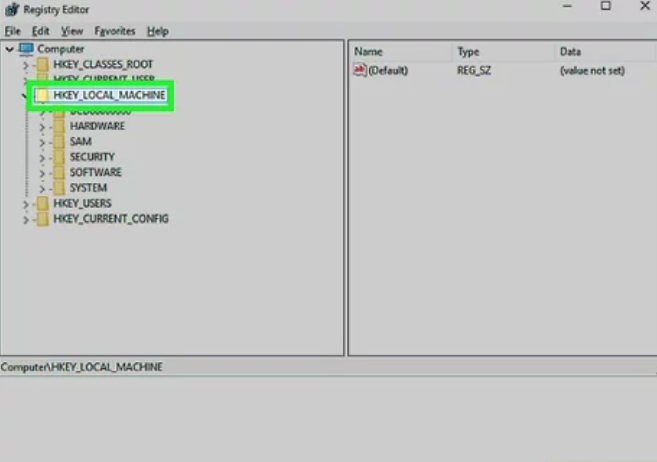
6. Go to the “Activation” key: To do this:
- Expand the HKEY_LOCAL_MACHINE folder by double-clicking on it.
- Expand SOFTWARE
- Navigate down and Expand MICROSOFT
- Navigate down and expand Windows NT
- Expand CurrentVersion
- Expand the Software Protection Platform
- Then, click Activation
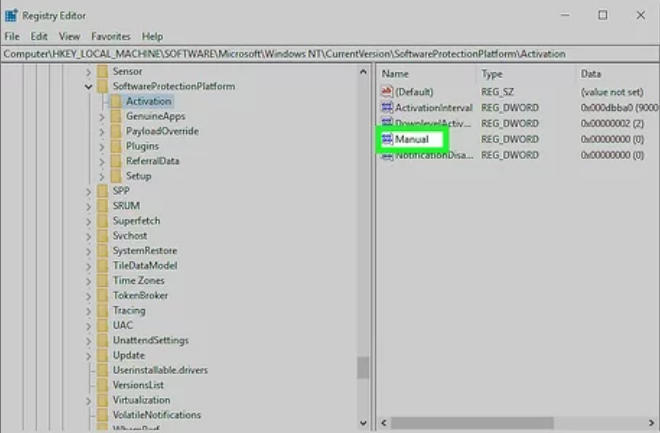
7. Right-click the “Manual” option: The option is a blue-and-white icon on the right side of the window. Once you click on it, a drop-down menu will pop up.
- If your mouse does not have a right-click button, click the right side of the mouse, or just use two fingers to click the mouse.
- If your PC uses a trackpad than a mouse, use two fingers to tap the trackpad or press the bottom-right side of the trackpad.
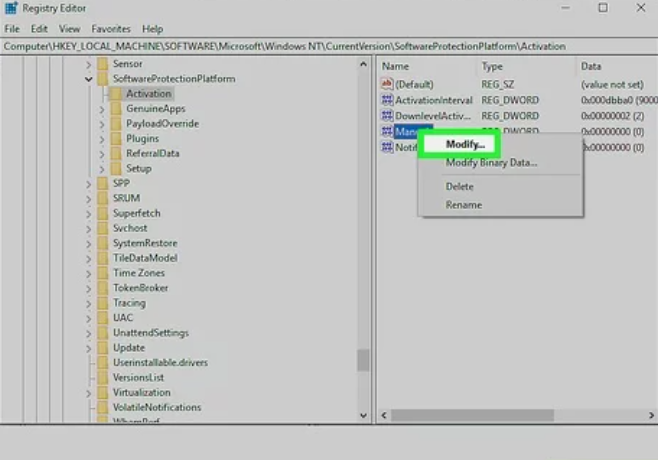
8. Click on the “Modify” button: You’ll see the button at the top of the drop-down menu. A window will appear.
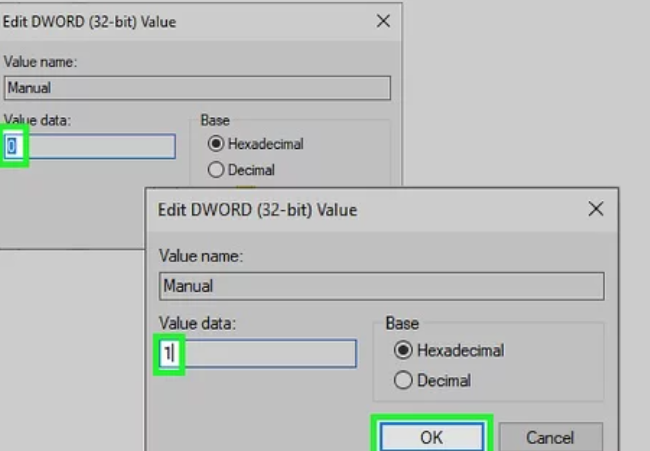
9. Change the value data: In the “Value data” text box, then replace the “0” with a “1”, then click OK.
- You might be prompted to confirm this choice. If so, click Yes or OK before going to the next level.
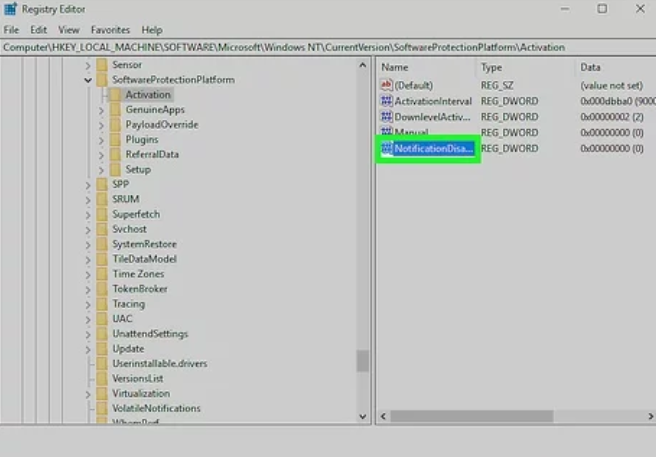
10 Right-click the “NotificationDisabled” button: You can also find this option on the right side of the page.

11. Click on the “Modify button.
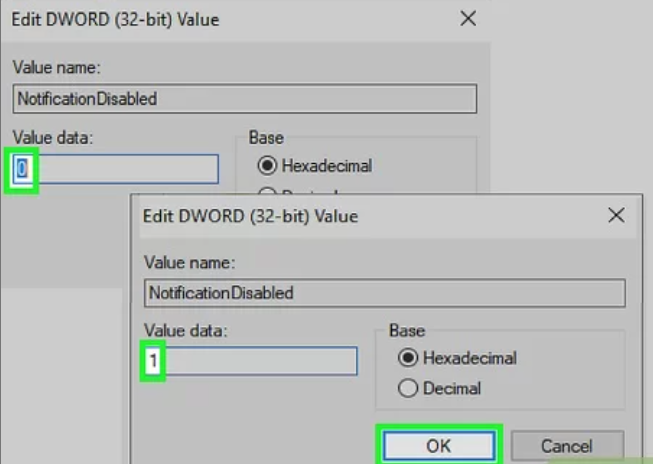
12. Customize the Value data to “1”: This will stop the activation notification from showing on your PC desktop background.
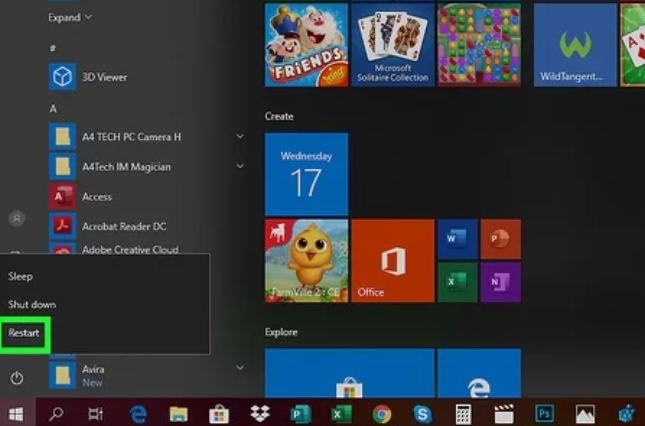
13. Restart your PC: Click the Start option, Power, and Restart in the Pop-up menu. Once you do this, your PC will automatically shut down and then turn itself back on.
14. Apply the same procedure if the notification reappears again: Removing the watermark notification will function temporarily, you might need to disable it again later on.
Method 3: Disabling Genuine Advantage in Windows 7
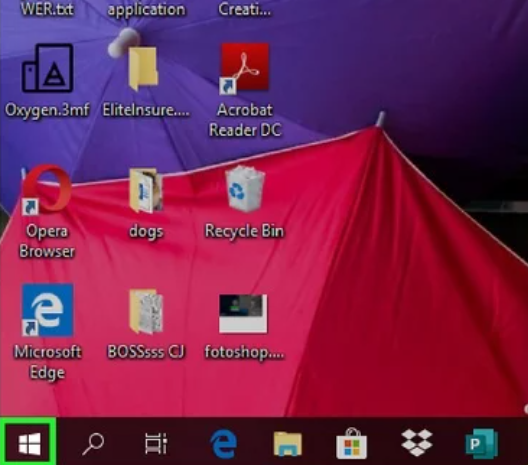
1. Open Start: Click the Windows logo in the bottom-left corner of the screen.
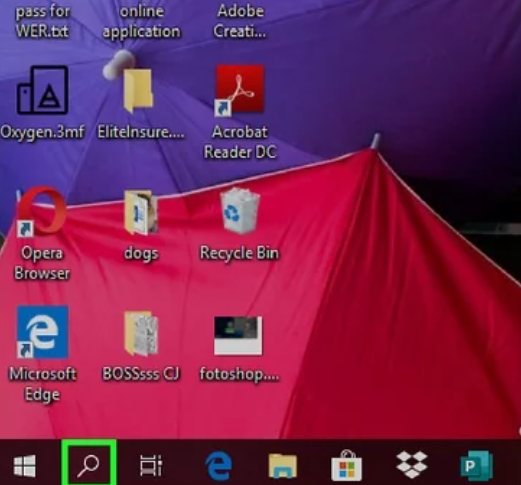
2. Click the search bar: It’s at the bottom of the Start windows.
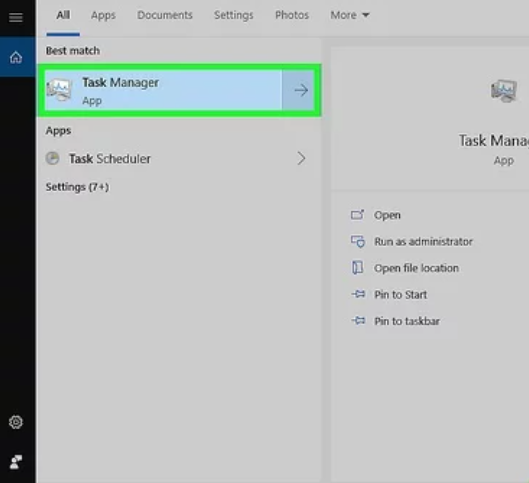
3. Enter Task Manager: Once you type this in the search bar, it will search your PC for the Task Manager application.
4. Click the “Task Manager” option: It’s at the top of the Start window.
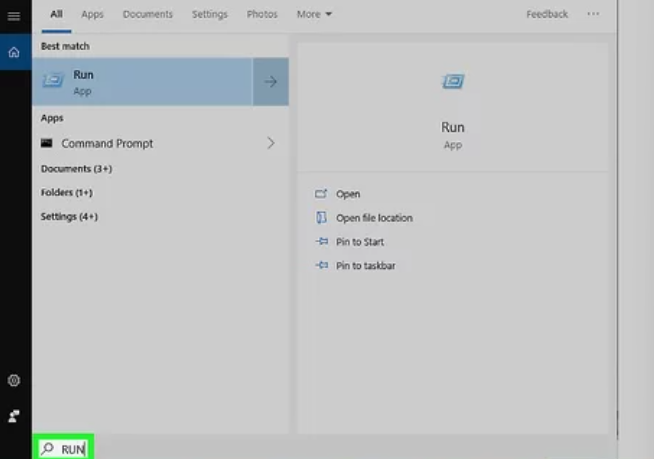
5. Open the Run window: Press Win + R at the same time to do so.
- If this doesn’t work, re-open Start, type in Run, and click Run.
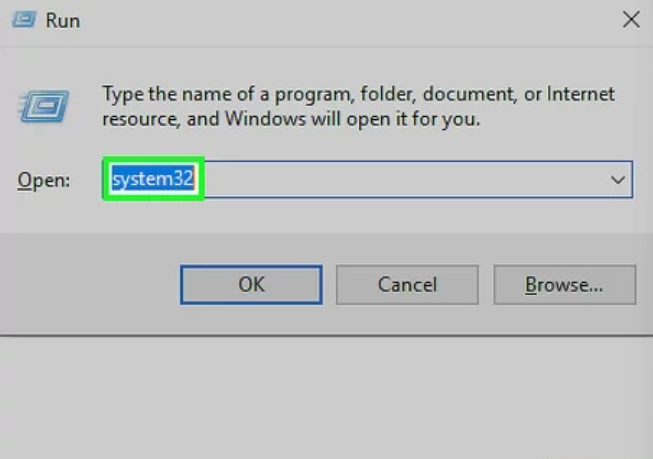
6. Type in system32: System32 is a folder that has many of your computer’s sensitive files.
7. Click the OK option: It’s at the bottom of the Run window. This will open the system32 folder.
8. Enabling viewing for hidden files and file extensions: To do so:
- Click the View tab
- Check the “Hidden items” box.
- Check the “File name extensions” box.
9. Find the “WgaLogon.dll” file: The easiest way to do this is by typing wga into the search bar that’s in the upper-right side of the window and then waiting for the “WgaLogon.dll” file to appear.
10. Rename the “WgaLogon.dll” file: Right-click the file, click Rename, and enter .bak at the end of the file name and extension, then press Enter.
- The file should now read “WgaLogon.dll.bak” instead.
- You may be prompted to confirm this choice. If so, simply click Yes or OK.
11. Create an empty copy of the “WgaLogon.dll” file: To do so:
- Right-click on a blank space in the system32 window.
- Select New.
- Click Text Document
- Type in WgaLogon as the file’s name.
- Replace the .txt with .dll
- Press Enter, then click Yes if prompted.
12. Find the “WgaTray.exe” file in both system32 and Task Manager: Since you’ll need to delete both entries within 5 seconds of each other, you’ll want to find them now. To do so:
- system32 – You should see “WgaTray.exe” in the window if ‘wga’ is still entered in the search bar.
- Task Manager – Click the Processes tab, scroll down till you find the “WgaTray.exe” option, and click it.
13. Delete both “WgaTray.exe” files: Choose the system32 “WgaTray.exe” file and press the Del key, then switch to Task Manager and click End process or End task, which is at the lower-right corner of the window.
14. Restart your PC once you’re finished: After your PC is done with rebooting, your Genuine Advantage notifications should be gone.
- You may have to restart the process at some point since Genuine Advantage notifications often return with critical updates.
Why Should You Remove Your WGA?
If you bought Windows XP, and have been unlucky enough to fail the validation (which is very common) then you might just need to remove it altogether. If you’re a raging software pirate then, I’m going to have a hard time convincing you to keep it.
WGA is a non-vital Windows component, which means that without it your copy of Windows XP will continue to work.
If you’re using something like VLC for your media needs and swear by Chrome or Firefox then you won’t miss updates for Internet Explorer and Media Player in that way.
Also, Data is collected about your PC, and this includes your BIOS checksum, MAC address, hard drive serial number, and even your PC’s manufacturer and model. If you’re tight on privacy, this might be another reason to ditch WGA.
There are three methods of removing WGA manually. I would recommend you try the first set of instructions I explained in this article to start with, the second set is given in case you can’t get the first working.
There are also a few applications that will help remove WGA for you.
It is worth mentioning if you’ve re-installed XP recently, and downloaded WGA in a recent update then a basic System Restore to the point before you downloaded the update will remove it.
Note that you should not re-download it afterward. If you’ve had WGA on your machine for some time, the instructions below should remove it.
What is Windows Genuine Advantage Notification?
Windows Genuine Advantage is a software anti-piracy program that was set up by Microsoft in 2005.
It enforces the online validation of some of the Microsoft products. If anyone is having the WGA issue, this wga remover tool can assist in removing the Windows Genuine Advantage issue.